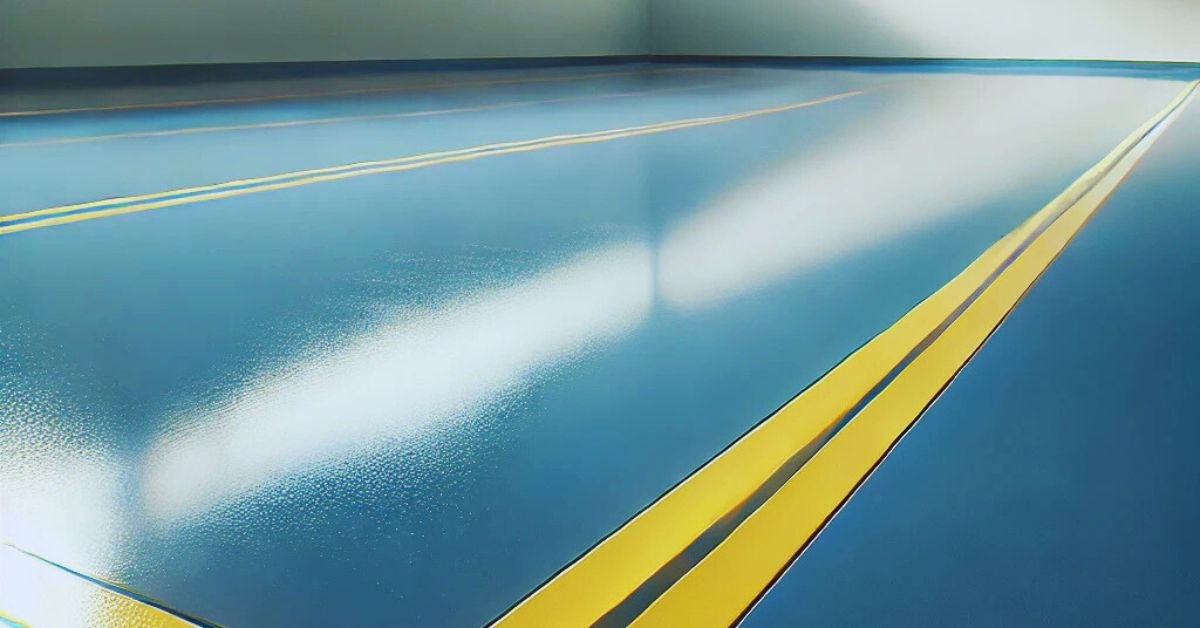
If you’re thinking about changing up your floors, then one great option is to paint them with epoxy. Epoxy is resistant to corrosive substances and extremely durable yet sleek and polished in appearance. The best thing is that you have excellent long-lasting results, whether you are doing the garage, basement, or even commercial flooring in epoxy. So how to paint epoxy floor to get that perfect finish? Let’s walk through it step-by-step, ensuring your epoxy floor is as smooth as the floor deserves.
Why Choose Epoxy for Your Floors?
Before we dive into the how-to guide, let’s quickly review why epoxy flooring is a great option:
Durable: Epoxy flooring is resistant to scratches, stains, and impacts, so it is perfect for high-traffic areas as these features of epoxy.
Cosmetic Value: Available in many colors and finishes, epoxy floors can provide your room with a sleek, commercial look for your floor.
Minimal Maintenance: After installation, it is easy to clean and maintain epoxy floors with anyone.
Budget: In comparison with other forms of flooring, epoxy can offer a floor covering solution that does not sacrifice quality.
Tools & Materials You’ll Need
Before you get started, gather the following tools and materials:
- Epoxy floor paint (choose a high-quality epoxy product)
- Epoxy floor primer (if recommended)
- Floor cleaner or degreaser
- Painter’s tape
- Roller (with a long handle)
- Paint tray
- Paintbrush for edges and corners
- Protective gloves, eye protection, and a mask
- Floor sander or grinder (if your floor is rough or damaged)
- Plastic sheeting or drop cloths (to protect surrounding areas)
Step-by-Step Process to Painting Your Epoxy Floor
Prepare the Space
Proper preparation is the first step to any successful flooring project for installation or painting. First, remove any furniture, cars, or other items from the area. To protect walls, windows, and other surfaces from accidental spills, cover them with plastic sheeting or drop cloths for safety.
In that case, clean your floor really well. Cleaning off dirt, grease, or oils with a degreaser or floor cleaner. If your floor has any old coatings or paint on it, it needs to be sanded or ground off to ensure a smooth, clean surface.
Repair and patch the floor
Make sure your floor is in good condition before putting down epoxy. Fill cracks and holes with a concrete patching compound, then let your repairs dry completely before continuing.
Etch the Floor (if needed)
Smooth concrete floors must be etched possibly for better adhesion of the epoxy. An etching solution or a floor grinder can be used to rough up the surface a bit. It actually helps in the epoxy to adhere properly with the concrete. Making the finish get solid and long lasting.
Epoxy Primer
Some epoxy products refer to the use of a primer for best results, others don’t. If your epoxy kit includes a primer, use a roller or paintbrush to apply it to the floor. Follow the epoxy flooring expert recommended drying time.
Mix the Epoxy
Now it’s time to mix your resin. Make sure to read the instructions from epoxy floor expert carefully, as the ratio of resin to hardener can be different. Make sure you stir well as you will use this when applying for curing.
Epoxy floor painting begins 🙂
Start painting the floor with the epoxy paint using the roller. Begin in one corner of the room and move toward the exit so you don’t corner yourself. Use thin and even coats to prevent runs and uneven application. Use a brush for edges and corners for complete coverage.
Wait for First Coat to Dry
Make sure the first coat of epoxy is dry before applying a second coat. The time it takes for the product to dry depends on temperature and humidity in your area, so always refer to the instructions for specific drying times.
Apply the Second Coat
After the first coat dries, do the same process with the second coat of epoxy. Two coats should be enough for a long-lasting and smooth finish. But if you have worn down your flooring significantly, a third coat can be applied accordingly with floor paint.
Let It Cure
Allow the epoxy floor to cure properly after the final coat. Curing times can be from 24 to 72 hours, depending on the product. During this time, it is best not to walk on or place anything on the floor, as this will affect the outcome of the floor.
Sit Back and Enjoy Your New Epoxy Floor!
After your floor has cured, it’s time to step back and admire hard work. Your new epoxy floor is ready to endure everything from heavy foot traffic to spills & stains. You’ve renovated your space with a durable, eye-friendly, and easy-to-maintain flooring solution.
Maintenance Tips for the Long Term
Routine Maintenance: Sweep or vacuum regularly to remove dirt and debris. Wipe them up immediately to avoid staining for spills.
Avoid Harsh Chemicals Use mild, non-abrasive cleaners to help maintain your floor’s surface.
Check for Damage: Look for cracks or wear and tear periodically. Use to touch up as needed to protect the integrity of the floor.
Conclusion
How to make a positive change in your space is to start with painting your floor with epoxy. By following these simple steps, you achieve a professional-quality finish that will stand the test of time. Garage, basement, workshop—epoxy floors are an investment that is sure to add value and beauty to your property. Happy painting!


